5120x1440p 329 Death stranding image is a part of life. It’s something we all have to face, whether we like it or not. And unfortunately, death can also be a part of our everyday lives when we happen to see something tragic or shocking. In this blog post, we will explore how you can take control of the way you deal with death by following these five tips. By learning how to manage your reactions and stay focused on the task at hand, you can minimize the chances of death stranding (or any other severe reaction).
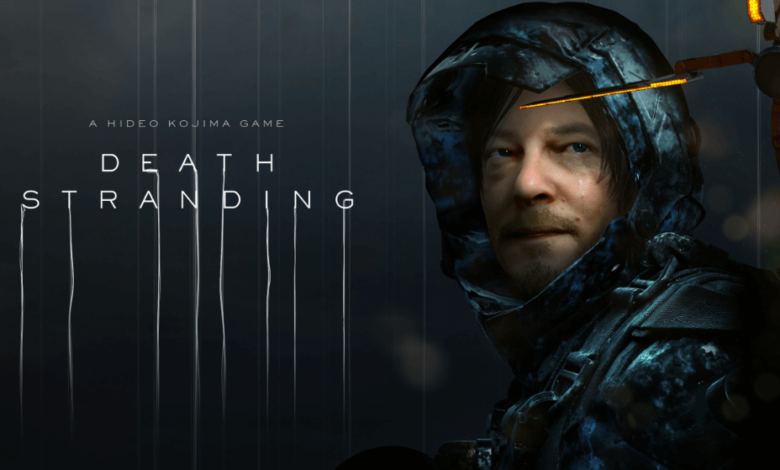
What is a 5120x1440p 329 death stranding image?
5120x1440p 329 death stranding image are a type of image that is often used on websites and in advertising to make people feel uneasy. They can be used to create an impression of fear or terror, which is why they are so popular.
There are many different types of death-staring images, but all of them share one common feature: they make the viewer look into the eyes of a deathly-looking creature or person. This can be done in a number of ways, including by using exaggerated eyes and eyelashes, making the viewer look up at the creature from below, or framing the image so that the viewer’s face is centrally located.
The purpose of death staring images is to create a sense of unease and fear in the viewer. They work best when they are used sparingly, but can be very effective when used correctly.
How to Make a Death Staring Image
There are different ways to make a death staring image. One way is to use the blur tool on a photo editor such as Photoshop or GIMP. You can also use the clone stamp tool to copy and paste parts of an image and then use the Sharpen Filter to make them look more intense. Another way is to take a picture of a person with their eyes closed and then use the liquify tool on Photoshop or GIMP to distort their features.
What Equipment Do I Need?
1. You will need some basic equipment to take good XP death-stranding images. If you are using a DSLR camera, you will need a tripod and shutter release cable. For point-and-shoot cameras, you will need the self-timer feature and a sturdy grip.
2. If you want to get really great XP death stranding images, invest in a high-resolution camera lens or sensor. A hig h resolution camera can capture more detail and make the image look crisper.
3. If you are taking photos of someone in water, be sure to bring along an underwater housing for your camera and proper swimming gear! XP death stranding photos often involve capturing people in water settings, so having the right gear is essential to success.
How Long Will It Take to Make My Image?
If you’re considering XP death staining as an image enhancement technique, there are a few things to keep in mind. First and foremost is the length of time it will take to complete the project. Second is the preparation you’ll need to do beforehand. Third is the software you’ll need for the task. And finally, make sure you have all the necessary supplies on hand. Here’s a breakdown of each step:
1. Decide what type of image you want to create. If your goal is simply to add an element of horror or suspense to your photo, XP death staining may be just what you need. On the other hand, if you’re looking for more natural-looking results, ghosting or other techniques may be better suited.
2. Choose a photo that will work well with XP death staining. Make sure it has enough contrast and darkness in specific areas so that your stain will stand out most noticeably. In some cases, moving parts in a photo can also help improve its chances of success with this technique (think creases or shadows).
3. Download and install XP Death Staining Software onto your computer. This program will allow you to create your stain directly on your photo surface, without having to use any other tools or media first. The software also includes helpful tutorials should you need them.
4. Once XP Death Staining Software is installed, open it up and prepare your photo for stain application by adjusting light levels
Tips for Making a Better 5120x1440p 329 Death Stranding Image
1. It’s important to be realistic about how death staring image will look before starting any photo or video editing. It is best to start with a stock photo or image that you are happy with, rather than trying to create something that is completely different from the original.
2. If you have access to Adobe Photoshop and an effects plugin such as GIMP’s “Destruction” or “Grave Digger,” use these effects to add more realism and horror to your death staring image.
3. Use a good camera and lens combination if you want your images to look their best. Try using a wider angle lens for more dramatic shots, and avoid using Shots that are too close up-this will reduce the impact of your final image.
4. Take time to plan out each shot meticulously-this will help ensure that your images look cohesive and professional when finished.
5. Finally, remember that death staring images are meant to be dark and spooky-keep things lighthearted and fun while shooting if possible!